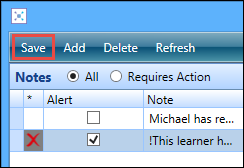
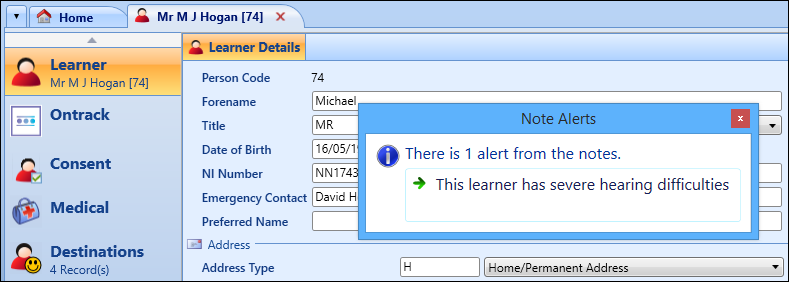
Use the notes functionality throughout Central to view and manage notes.
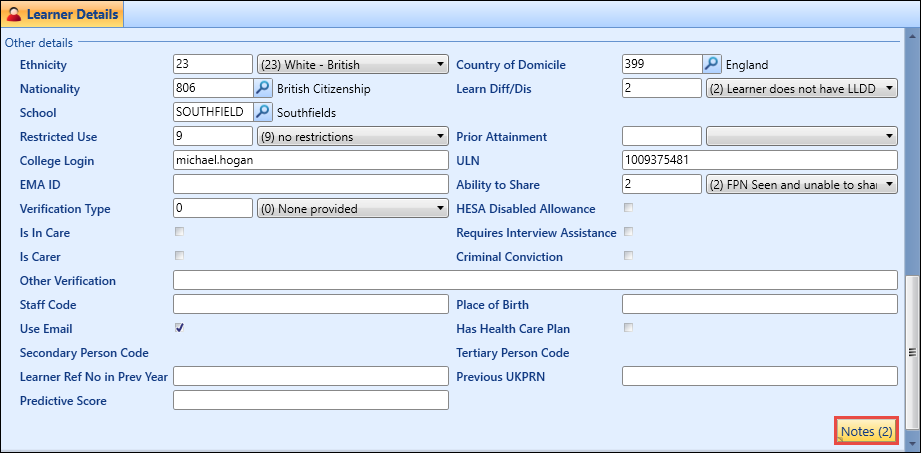
To access the notes functionality, click the Notes button. The number of notes recorded will be displayed in brackets.
This displays the Notes window, which shows a list of notes in a grid and the details of the selected note.
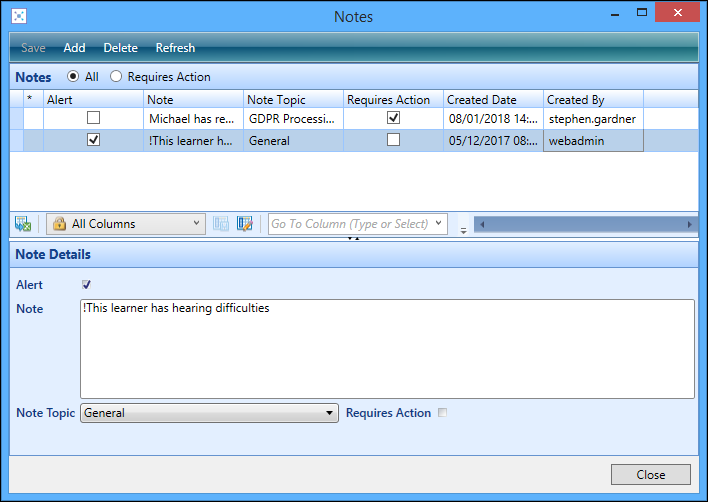
From the Notes window, you can:
To add or edit a note:
-
Click the Add button to add a row in the Notes grid.
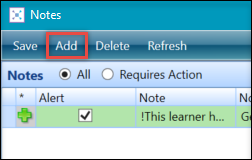
Alternatively, select an existing note record.
-
Enter or edit the relevant details in the Note Details section.
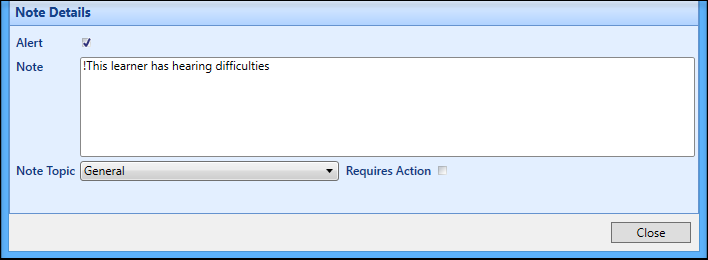
The fields on the Note Details section are described in the following table.
| This field | Holds this information... |
|---|---|
| Alert |
Whether to trigger a pop-up alert to display when the record is opened.
Selecting this check box enters an exclamation mark in the Note field. |
| Note |
The note contents. If you want all of the text to appear in a pop-up alert, begin the note with an exclamation mark. If you only want certain text to appear in the pop-up, place this content in between two exclamation marks (for example: '!This learner has severe hearing difficulties! but has a hearing aid' would only display 'This learner has severe hearing difficulties' in the pop-up). |
| Note Topic | The topic of the note. These can be defined in Note Topics reference data. |
| Requires Action | Whether the note requires a follow-up action. You can filter the list of notes that require action using the Requires Action radio button at the top of the window. |
-
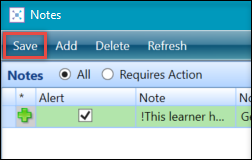
Click Save.
Note topics allow you to efficiently categorise notes. Where notes have a note topic selected, you may be required to have the corresponding custom role to be able to view/edit those notes depending on the configuration of the note topics in reference data.
If you have an Administrator role, you can set up the following for each note topic in the Note Topics reference data:
- Read Only Role - this note topic can be viewed by users with this role
- Edit Role - this note topic can be viewed and edited by users with this role
The Read Only Role and Edit Role fields look up roles which have been created as custom roles in the user management module.

If no Read Only or Edit role has been assigned to a particular note topic, then any user will be able to view and edit that note.
Notes can be filtered by those which require further action by selecting the Requires Action filter option.
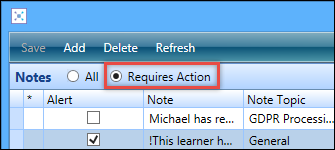
By default, notes are listed in reverse chronological order, with the most recent entry at the top of the list. To sort notes, click the header of a column in the Notes grid.

To delete a note:
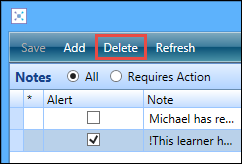
- Select the required note in the Notes grid.
-
Click the Delete button.
A confirmation message is displayed.
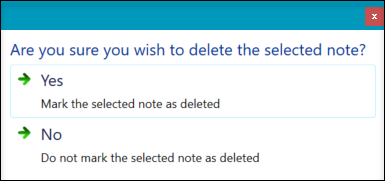
- Click Yes to mark the selected note for deletion.
-
Click the Save button to confirm the deletion.
